This documentation section is valid for both the Pro and Free versions.
The first step before starting to use the “Invoicing with InvoiceXpress for WooCommerce” plugin is to set up the WooCommerce taxes according to the InvoiceXpress taxes.
The configuration example that we will follow, is for a Portuguese mainland company. You should make the proper adaptations if that’s not your case.
When you first open an InvoiceXpress account, this is how the Taxes are set up:

Set up the WooCommerce taxes
This is how you should set up your WooCommerce taxes:
- General, Enable taxes: Enable tax rates and calculations
- Tax, Calculate tax based on: Shop base address
- Tax, Shipping tax class: Standard
- Tax, Rounding: Activate “Round tax at subtotal level, instead of rounding per line”
If you want to make sure that there are the least possible rounding, we also recommend that you set Prices entered with tax to: “No, I will enter prices exclusive of tax”. And because you’re probably going to show prices including taxes in the frontend, WooCommerce will show you a “Inconsistent tax settings” warning that you can safely ignore.
If your store only sells products/services of the default tax (currently 23%)
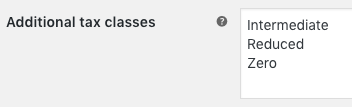
On WooCommerce, set the Additional tax classes to “Zero”.
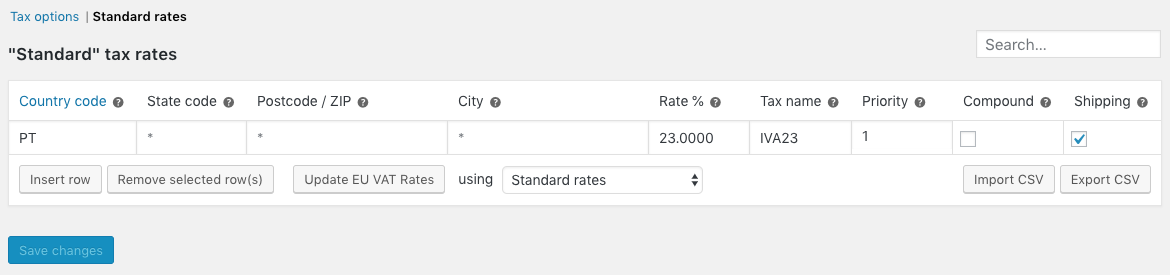
Then go to the Standard rates settings and set it up like this:
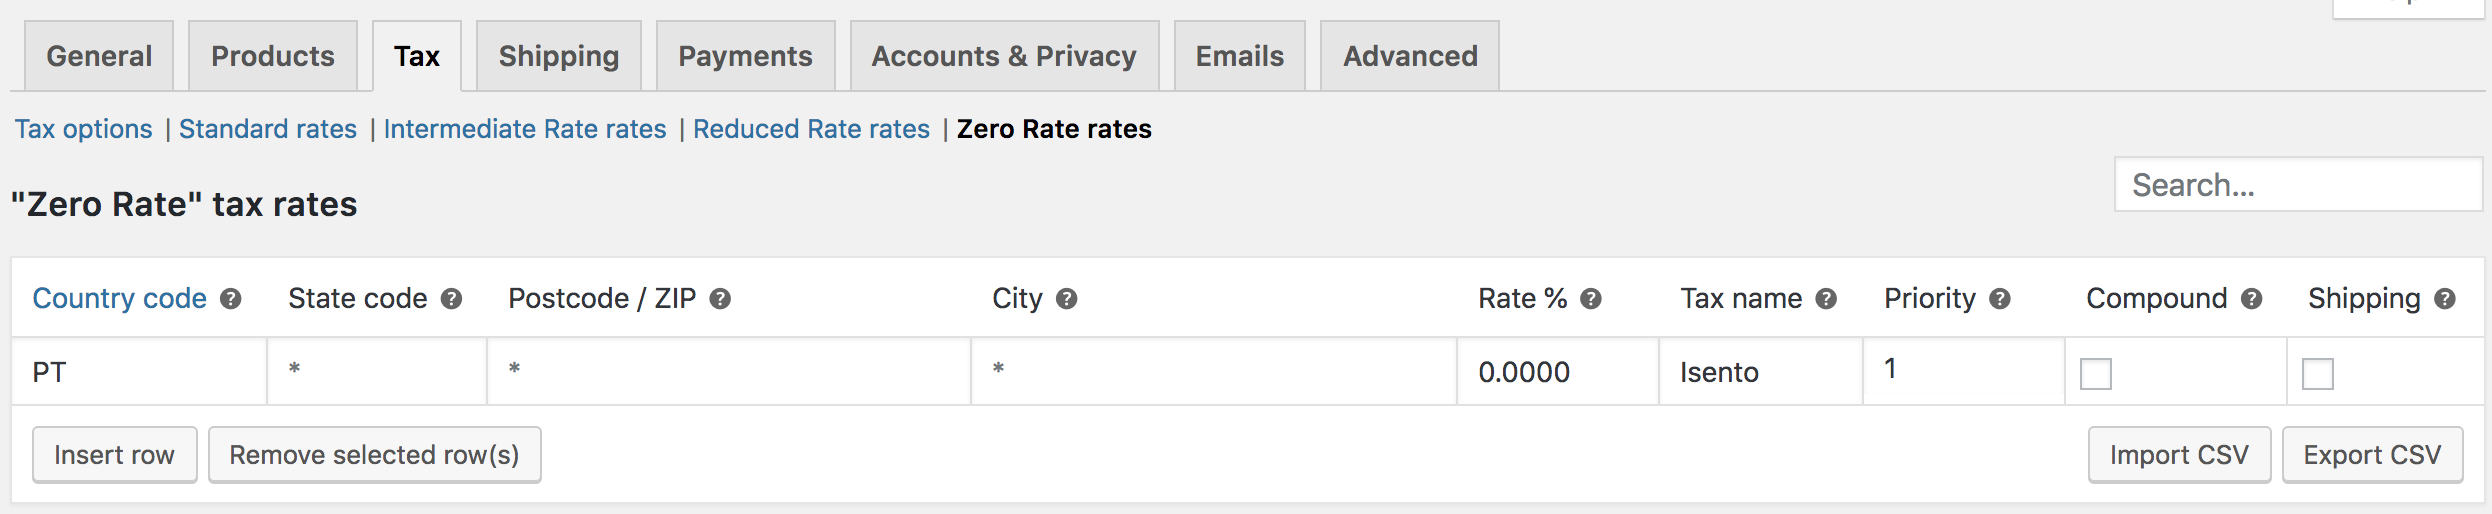
And the Zero rates:
If your store sells products of all taxes (currently 23, 13 and 6%)
Additionally to the previous steps, you should also follow these instructions.
First, create the additional taxes on InvoiceXpress:

On WooCommerce, set the Additional tax classes:
And set up the Intermediate rates and Reduced rates like this:
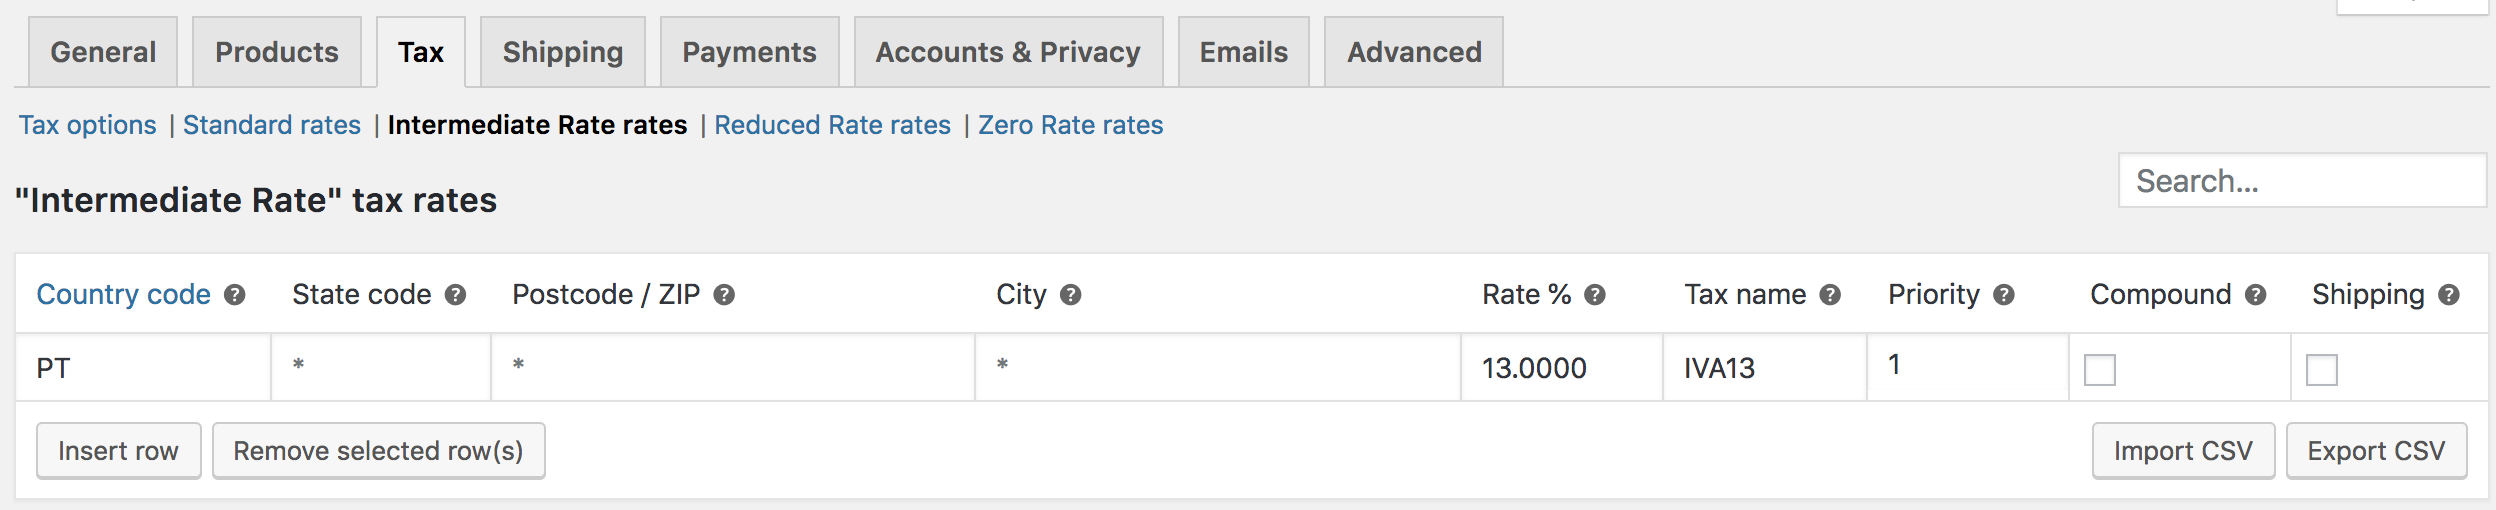
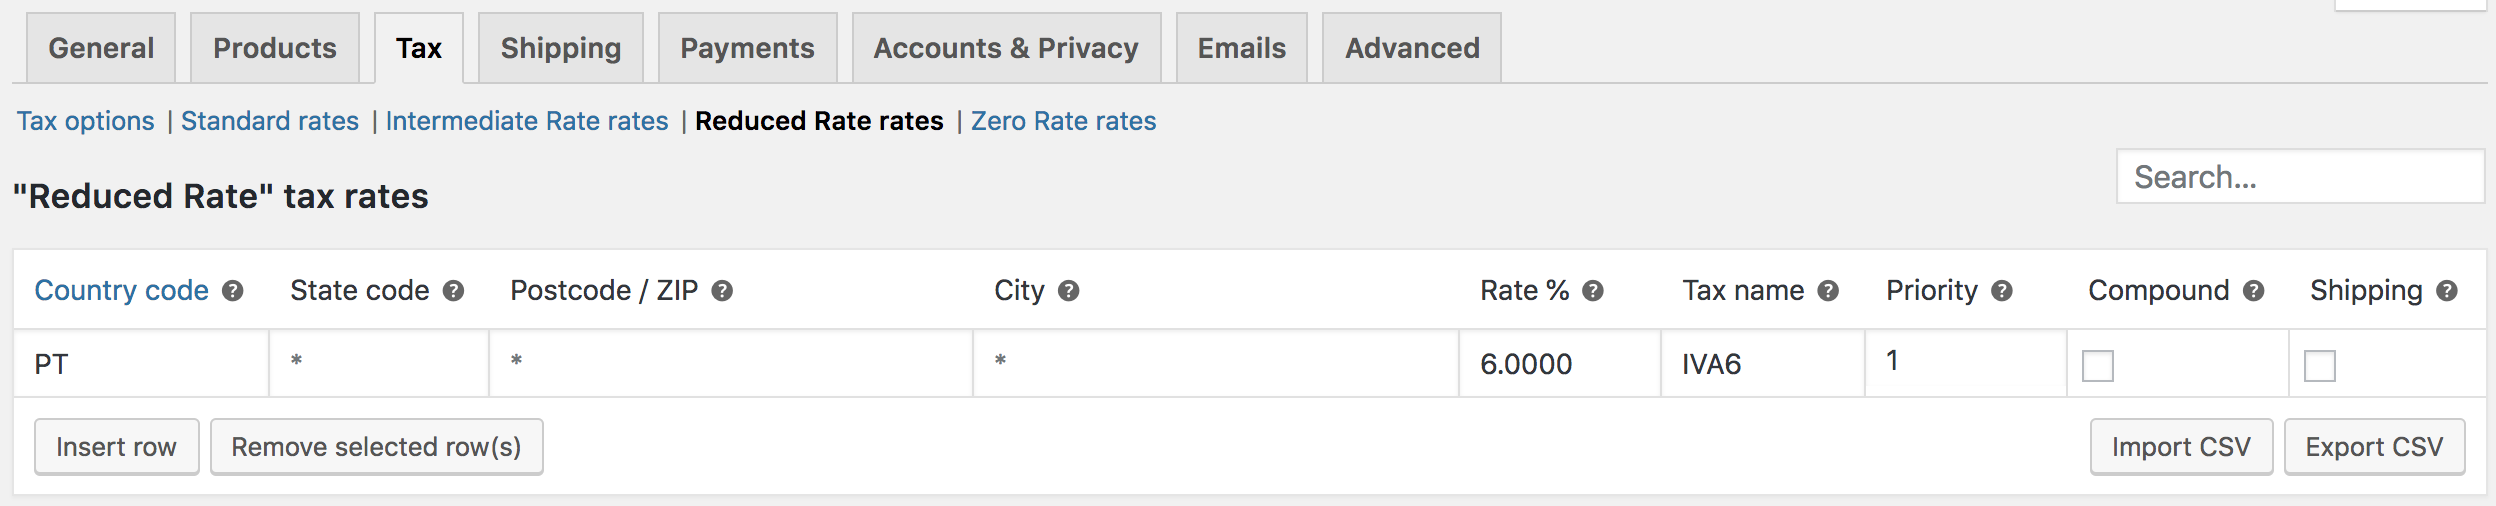
Please be aware that the Tax name field on all the rates must be exactly the same as the InvoiceXpress tax name.